You may find it helpful to make Report Groups. When a report group is activated (using the Report Group drop-down menu in the Context/Report Selection pane), only those reports included in the group will be listed in the Report drop-down menu. Additionally, if you find you are consistently running a series of reports on a consistent basis (quarterly reporting for example), consider setting up batch reporting. Once batch reporting groups have been set up, you will be able to run all of the reports in the group in a single click.
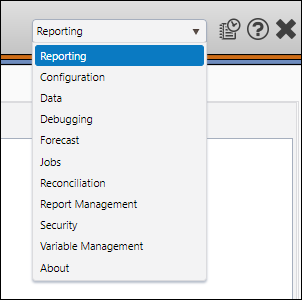
- Select Reporting from the Navigation Toolbar.
- Click on the Definitions tab, and then the Report Groups page.
Create a Report Group
You can create a report group to keep your most commonly used reports together. To do so, follow these steps:
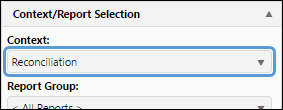
- Select the context you wish to add a report group to using the Context drop-down menu in the Context/Report Selection pane.
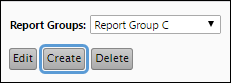
- Click the Create button.
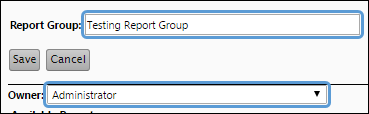
- Enter a name for your report group in the Report Group field.
- Use the Owner drop-down menu to select who will have access to the report group.
- Use the Owner drop-down menu to select who will have access to the report group.
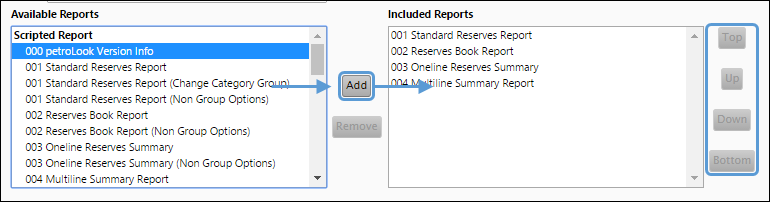
- From the Available Reports list, select one or more reports that you want to include in the group, then click the Add button to add them to the Included Reports list.
- Use the Top, Up, Down, and Bottom buttons to reorder the list of reports in your report group.
- Click Save to save the report group. It will be available immediately in the Report Group drop-down menu (found in the Context/Report Selection pane).
Click image to expand or minimize.
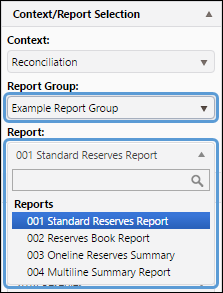
When you select a report group from this drop-down menu, only the reports in that group are available in the Report drop-down menu.
Set Up Batch Reporting
It may become common practice to run a particular group of reports at the same time. In that case, set up batch reporting for a report group by first creating a report group (as described previously). Before you save your report group, follow these steps:
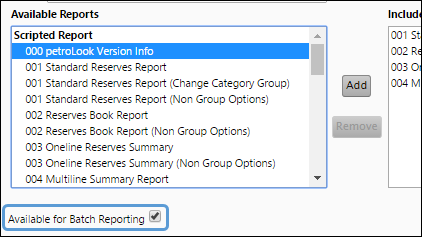
- Enable the Available for Batch Reporting checkbox.
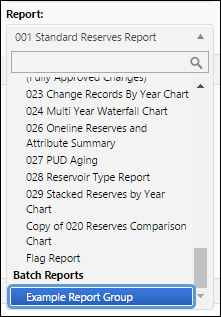
- Now the report group appears in the Report drop-down menu under Batch Reports. Select it.
- Click on the Report tab, and then the Report Options page. The report options for all of the reports in the report group are combined into one list.
- Once you have configured your report options, run the report like you would any other. Click on the level of your hierarchy that includes the objects on which you want to report.
Click image to expand or minimize.
Click image to expand or minimize.
Click image to expand or minimize.
Edit a Report Group
To edit a report group, follow these steps:
- Select the context associated with the report group you wish to modify using the Context drop-down menu in the Context/Report Selection pane.
- Select the report group you would like to edit using the Report Groups drop-down menu.
- Click the Edit button.
- Modify your report group as you would when creating it. You will be able to:
- Edit the group's name.
- Change the ownership of the group.
- Modify the list of reports associated with the group.
- Click the Save button when you have finished making changes to your report group.

Delete a Report Group
To delete a report group, follow these steps:
- Select the context associated with the report group you wish to delete using the Context drop-down menu in the Context/Report Selection pane.
- Select the report group you wish to delete using the Report Groups drop-down menu.
- Click the Delete button.
- You will be prompted to confirm the deletion. Click OK to delete your report group.

Activate a Report Group
Once your report groups have been created, they can be activated using the Report Group drop-down menu in the Context/Report Selection pane while using any of the pages in the Reporting side of the application.