
Use the Dynamic Hierarchies page to create attribute-based categorizations of the objects in your database. These can then be used while reporting to help you quickly select the data you require for your reports. There is no limit to the number of hierarchies you can create and you can delete them when they are no longer needed.
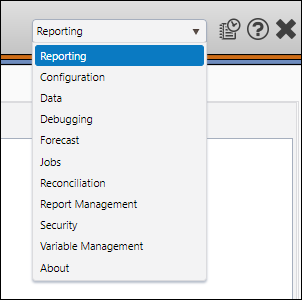
- Select Reporting from the Navigation Toolbar.
- Click on the Definitions tab, and then the Dynamic Hierarchies page.
Create a Custom Hierarchy
By default, the hierarchies you create will be associated with your User ID. You can share hierarchies with other members in your company by assigning the ownership of the hierarchy to a group role. Follow the steps below to create a custom hierarchy:
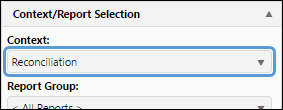
- Select the context you want to add a dynamic hierarchy to using the Context drop-down menu in the Context/Report Selection pane.
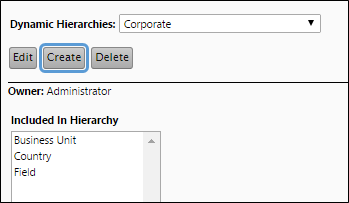
- Click the Create button.
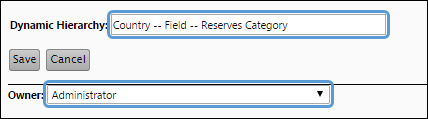
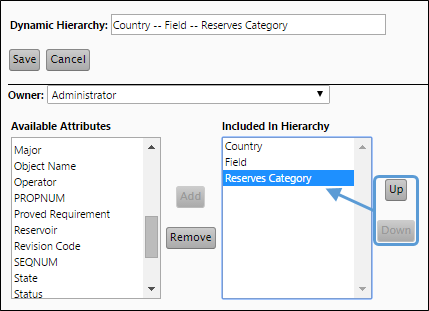
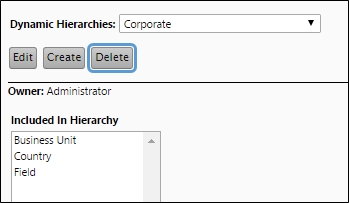
- In the Dynamic Hierarchy field, enter a name for the new hierarchy.
- Use the Owner drop-down menu to set the ownership of your hierarchy.
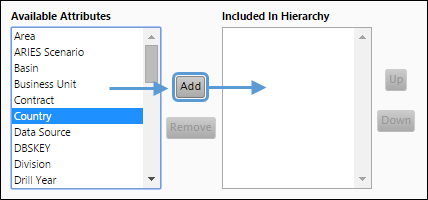
- Select the attributes you want to include in your hierarchy in the Available Attributes list, and add them to the Included In Hierarchy list by clicking the Add button. You can also move attributes between lists by double-clicking on them.
- To change the order of the attributes in a hierarchy, select the attribute you wish to move in the Included In Hierarchy list, and then use the Up and Down buttons to change its position.
- When you have finished configuring your hierarchy's settings, click the Save button.
Click image to expand or minimize.
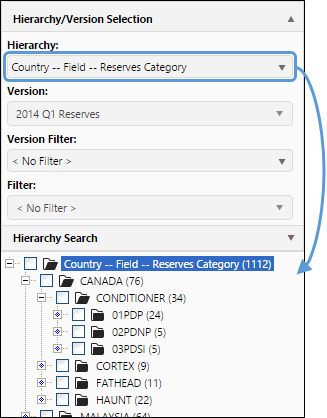
Now, your new hierarchy can be activated using the Hierarchy drop-down menu in the Hierarchy/Version Selection pane (visible below).
Click image to expand or minimize.
Edit a Preexisting Hierarchy
To edit a preexisting hierarchy, follow these steps:
- Select the context associated with the hierarchy you wish to modify using the Context drop-down menu in the Context/Report Selection pane.
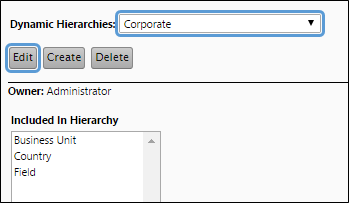
- Select the hierarchy you want to edit using the Dynamic Hierarchies drop-down menu near the top of the Display pane.
- Click the Edit button.
- Modify your hierarchy as you would when creating it. You will be able to:
- Change the ownership of the hierarchy.
- Add or remove levels from the hierarchy.
- Reorder the levels in a hierarchy.
- Click the Save button to save changes.
Delete a Hierarchy
Follow the steps below to delete a hierarchy:
- Select the context associated with the hierarchy you wish to delete using the Context drop-down menu in the Context/Report Selection pane.
- Select the hierarchy you want to delete using the Dynamic Hierarchies drop-down menu near the top of the Display pane.
- Click the Delete button.
- You will be prompted to confirm the deletion. Click Yes to delete the hierarchy.
Activate a Dynamic Hierarchy
Once dynamic hierarchies have been created, you can activate them while using any of the pages in the Reporting side of the application. Use the Hierarchy drop-down menu in the Hierarchy/Version Selection pane to activate the hierarchies you create.