
Use the Group Filters page to create and manage your group filters. Group filters are used to limit objects in the hierarchy to a static list of objects defined in the filter (for example you might create a group filters of reservoirs in different fields that you are personally responsible for, that do not share attribute values). You have the option to create group filters strictly for your own use, or shared filters that other members of your company can use.
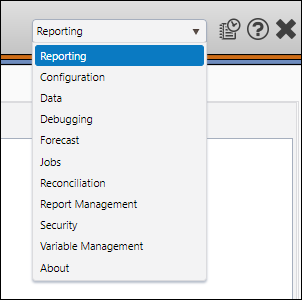
- Select Reporting from the Navigation Toolbar.
- Click on the Definitions tab, and then the Group Filters page.
Create a Group Filter
To create a group filter, follow these steps:
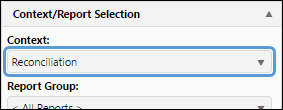
- Select the context you want to add a group filter to using the Context drop-down menu in the Context/Report Selection pane.
- Click the Create button.
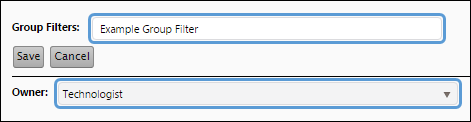
- Enter a name for your group filter in the Group Filters field.
- Use the Owner drop-down menu to select who will have access to the filter.
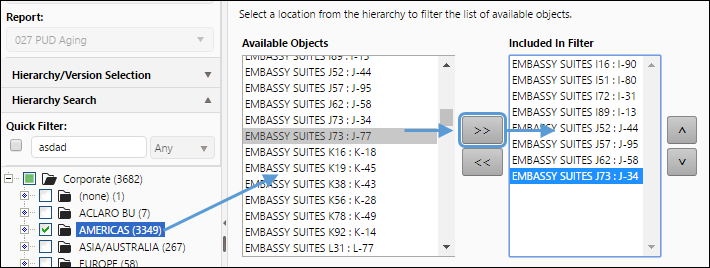
- Use the hierarchy to select the group of objects you wish to add to your filter. The objects you select will be added to the Available Objects list.
- Select the objects you wish to include in your filter from the Available Objects list, and click the Add (>>) button to add them to the Included In Filter list. You can also double-click on objects to move them between lists.
- (Optional) Enter comments associated with your filter in the Comments field near the bottom of the page.
- Click the Save button to save the group filter.

Click image to expand or minimize.
Edit Preexisting Group Filters
To make changes to a group filter, follow these steps:
- Select the context associated with the group filter you wish to modify using the Context drop-down menu in the Context/Report Selection pane.
- Select the filter you want to edit from the Group Filters drop-down menu.
- Click the Edit button.
- Modify your filter as you would when creating it. You will be able to:
- Rename your filter
- Add new objects to your filter
- Remove objects from your filter
- Change the ownership of your filter
- Modify the comments associated with your filter
- Click the Save button when you have finished modifying your filter to save your changes.

Delete Group Filters
To delete a group filter, follow these steps:
- Select the context associated with the group filter you wish to delete using the Context drop-down menu in the Context/Report Selection pane.
- Select the filter you want to delete from the Filters list.
- Click the Delete button. A message box opens to ask you to confirm the delete.
- Click OK to confirm. The filter will be deleted.

Activate a Group Filter
Once group filters have been created, you can activate them while using any of the pages in the Reporting side of the application. Use the Filter drop-down menu in the Hierarchy/Version Selection pane to activate the version filters you create.
Apply Filters to Navigation Sets
You can apply filters to navigation sets using The Navigation Sets Page.