Edit Decline Parameters on an Entity
You can use the product cards below the graphs on Predictions | Declines to enter decline and ratio parameters and calculate multi-segment declines. The product cards have a summary view (default) and a details view.
Summary View
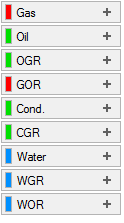
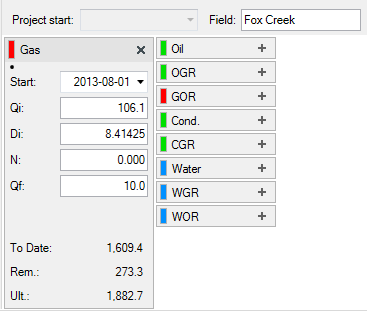
The summary view displays basic decline or ratio parameters if the entity has them, or it just displays product names if the entity has no decline or ratio. If an entity has no decline or ratio, click a product name to create one.
 Click image to expand or minimize. |  Click image to expand or minimize. |
If the entity has production, Value Navigator performs a best fit using the settings in your user options (Fit Settings tab). If there is no production, Value Navigator creates a default decline or ratio using parameters from your user options (Product Specific tab).
Details View
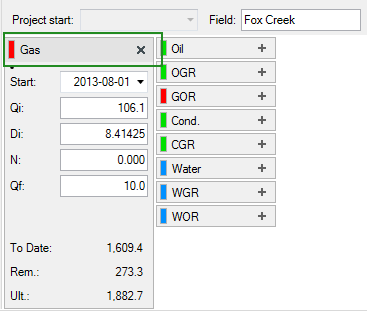
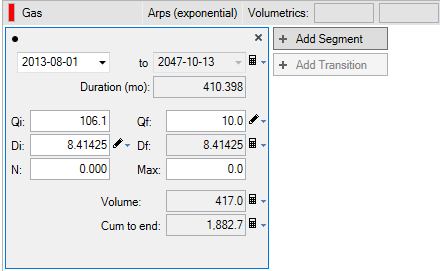
The details view displays additional decline or ratio parameters and enables you to specify user-entered or calculated parameters and add decline segments. To switch from the summary view to the details view, click the product name above the parameters.

Click image to expand or minimize.

Click image to expand or minimize.
Calculate Decline or Ratio Parameters
To create the first segment in the calculator you use a combination of user-entered values ( ) and calculated values (
 ). In subsequent segments, you can also use linked values (
 ) which are based on the preceding segment. If you enter too many or too few values, an error symbol (
 ) is displayed at the top of the segment. Other errors, such as invalid values, are indicated by a caution symbol (
 ). Move your mouse over the symbol to see the message. Also see Decline Errors and Warnings.
To add segments, click Add Segment. To remove a segment, click the X in the top right of the segment.
To calculate a decline segment
- On Predictions | Declines, click the product name above the decline parameters to display the details view.
- Enter or edit the Segment Start Date and Initial Rate (always user-entered values on the first segment).
-
For each value you want to enter, toggle the icon next to the field to the user-entered icon
 and enter the value.
-
For each value you want calculated, toggle the icon next to the field to the calculated icon
 .
.
-
To add a segment, click Add New Segment.
The calculator determines the segment’s start date and initial rate and links them to the previous segment. - Repeat steps 3-6 as required.
To change the fields displayed on Predictions |Declines, see Customize Predictions | Declines Fields.
