
Create a Plan
See Plans for an overview of plans.
If the Plan filter at the top of hierarchy ( ) is enabled, only entities with data in the current plan are displayed. See Filter to Entities with Data in the Current Plan.
) is enabled, only entities with data in the current plan are displayed. See Filter to Entities with Data in the Current Plan. To create a plan
- In the Tools menu, point to Global Project Data and select Plans.
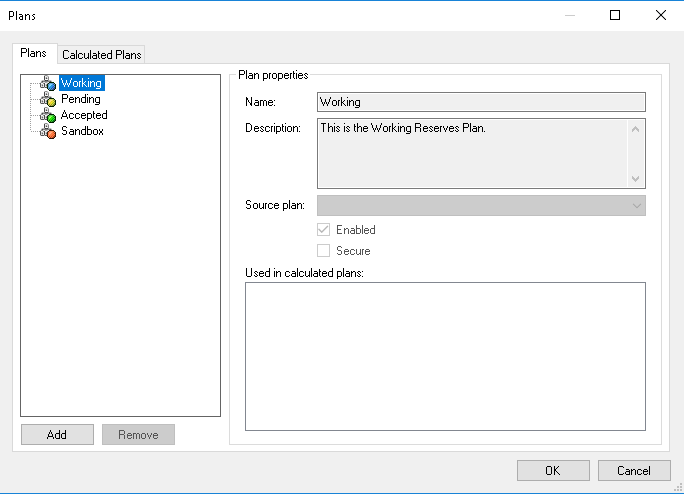
- In the Plans dialog box, click Add.
- Enter a name and description for the new plan and select the following fields as required:
- Click OK.
| Field | Description |
|---|---|
| Source plan | Data source for the new plan. If you want to create a standalone plan, do not select a Source. To create a plan that inherits data from a source, select a reserves plan (Working only) or another plan. |
| Enabled | The plan is only displayed in the project if it is enabled. Disabled plans are not visible. |
| Secure | If selected, only users with the Edit Secure Plan Data security policy can edit the plan. |
To view the new plan in your project, select it from the list above the Summary window.
