
Only one page is accessible via the Processes Tab: The Process Definition Page.
The Process Definition Page
Using the process definition page, you will be able to use the Windows Task Scheduler to run various Reserves tasks. These tasks include:
- Batch reporting
- Cleaning your Reserves cache folders
- Running configuration scripts
- Cleaning your Reserves job log
How to Access the Process Definition Page
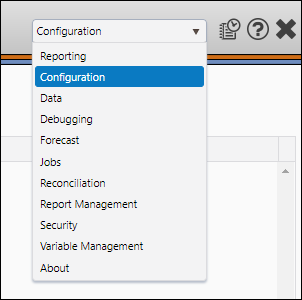
- Select Configuration from the Navigation Toolbar.
- Click on the Processes tab. The Context Extensions page will open.
If you receive a Logon Failed error when you try and access the Process Definition page, you will need to use the Configuration Manager to enter valid Windows user credentials to access the Windows Task Scheduler.
What you can do on this Page
Create New Process
To create a new process, follow these steps:
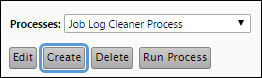
- Click the Create button.
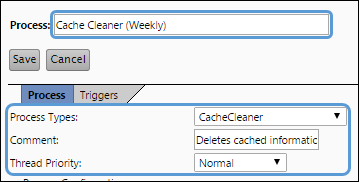
- Enter a name for your process in the Process field.
- Select the type of process you want to create using the Process Types drop-down menu. Four options are available:
- Batch Report Runner: Use this option to create a process that routinely runs one of your reports.
- CacheCleaner: Use this option to create a process that will delete cached information in your Reserves instance.
- ConfigurationScriptRunner: Automatically run a configuration script using this process type.
- JobLogCleaner: Run this process to clear previously run jobs from the job log. This will remove reports from the Report History pane on The Report Page.
Creating a batch report runner requires an Option Set, and a Navigation Set. See The Option Sets Page and The Navigation Sets Page for more information.Create and manage your configuration scripts using The Configuration Scripts Page. - (Optional) Enter any comments associated with your process in the Comment field.
- Select a priority for the process using the Process Configuration drop-down menu. Setting the priority of your processes will allow higher-priority processes to run before lower-priority ones when they are scheduled to run at the same time. Five options are possible:
- Lowest
- BelowNormal
- Normal
- AboveNormal
- Highest
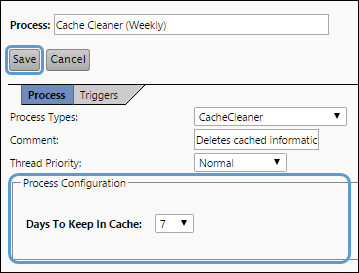
- Configure your process type's options. In this example, a CacheCleaner process was created.
- Each process type includes its own set of options. In the example above, the Cache Cleaner process was configured to leave seven days worth of cached data in the cache when it is run.
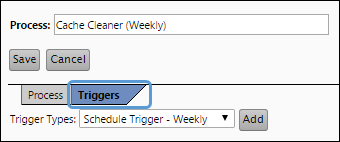
- Now, link your process to a trigger. This will allow your process to run automatically. Click on the Triggers tab.
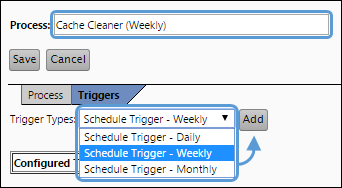
- Select a trigger type from the Trigger Types drop-down menu. You will have 3 options:
- Schedule Trigger - Daily : Select this option to create triggers that run on a daily basis.
- Schedule Trigger - Weekly: Select this option to create triggers that run on a daily basis.
- Schedule Trigger - Monthly: Select this option to create triggers that run on a daily basis.
- Click the Add button.
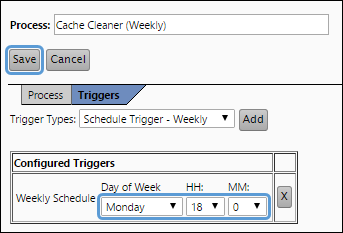
- Configure the schedule options for your trigger. These options will vary depending on the trigger type you select.
- Once you have finished setting up your trigger, click the Save button.
Click image to expand or minimize.
If you are creating a process that will only be run manually, click the Save button. Manual processes do not require triggers.
Click image to expand or minimize.
You can add more than one trigger type to a trigger.
Click image to expand or minimize.
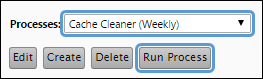
Run a Process Manually
To manually initialize one of your processes, follow these steps:
- Select the process you want to run using the Processes drop-down menu.
- Click the Run Process button. A job will be created for your process. You can monitor your process' progress using The Job Results Page.
Edit a Preexisting Process
To modify a Process, follow these steps:
- Select the process you want to modify using the Processes drop-down menu.
- Click the Edit button.
- Modify the process as you would when creating it. you will be able to:
- Rename the process
- Change the process type
- Modify the process type's options
- Manage the process' triggers
- When you have finished modifying your trigger, click the Save button to save your changes.