
The Export Data page provides a place for you to export data into documents with predefined templates. This is useful for moving data into an Excel spreadsheet that already has defined formulas.
You must have the applicable level of security to do anything on this page. If the selected version is locked, data will not be available to export.
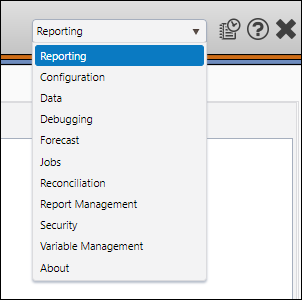
How to Access the Export Data Page
- Select Reporting from the Navigation Toolbar.
- Click on the Data tab, and then the Export Data page.
Exporting Data
To export data, follow these steps:
- Select the version containing the data you wish to export using the Version drop-down menu in the Hierarchy/Version Selection pane.
- Select a hierarchy to display your data using the Hierarchy drop-down menu in the Hierarchy/Version Selection pane
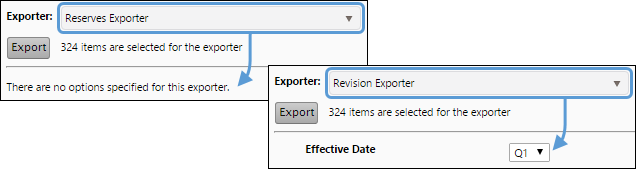
- Use the Exporter drop-down menu near the top of the Display pane to select the appropriate exporter.
- Use the hierarchy to select the objects associated with the data you wish to export.
- Certain exporters may include options. These options will vary from exporter to exporter. If your exporter includes options, configure them at this time.
- Once you have selected the data you want to export and set up your exporter's options, click the Export button.
- A data export job will be created. Monitor the job's progress on the table on screen.
- When the job is finished, click the Open File button in the Result column of the Finished table.
- You will be prompted to Open or Save the exported data.
Click image to expand or minimize.
The export jobs will be automatically purged from the server after 12 hours to keep up performance.
Importing Data
Depending on how your Reserves instance has been configured, you may need to import exported data into Reserves. This can be done using The Import Objects (Context) Page.