
Use the Data Editor page to view and edit raw data from your Reserves database in different tables.
Use of the Data Editor page may require Administrative permissions. Additionally, all of the tables that can be viewed using the Data Editor can be defined using metadata. Consult Quorum for further information on creating custom Data Editor tables.
There are three types of tables that can be loaded and modified using the Data Editor:
- Lookup Tables: Lookup tables are not linked to versions or data objects.
- Partially-Linked Tables: Partially-linked tables are linked to objects in the hierarchy, but are not linked to versions. This means that the contents of these tables will change depending on the objects you've selected using the Hierarchy; however, selecting a different version of your data will not change the contents of the table.
- Linked Tables: Linked tables are linked to objects in the hierarchy and versions of your data. This means that the contents of these tables will change when you select different objects from your hierarchy, and when you select different versions of your data.
How to Access the Data Editor Page
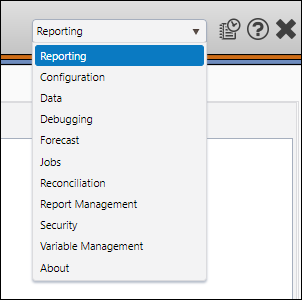
- Select Reporting from the Navigation Toolbar.
- Click on the Data tab, and then the Data Editor page.
Load a Table
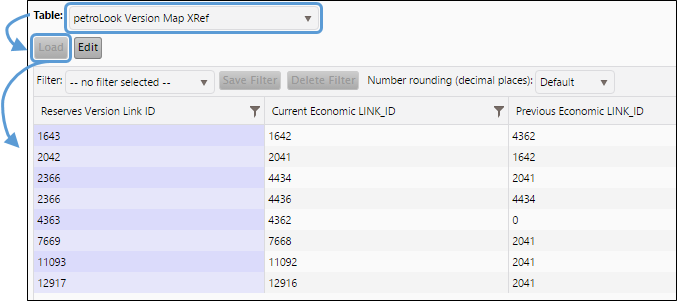
Once you have opened the Data Editor page, load a table to view and edit its data. Follow these steps to load a data table:
- Select the context linked to the table you wish to load using the Context drop-down menu in the Context/Report Selection pane.
- Select the table you wish to load using the Table drop-down menu near the top of the Display pane.
- If you are loading a Partially-Linked or Linked table, select the version of your data you wish to work with using the Version drop-down menu in the Hierarchy/Version Selection pane.
- If you are loading a Linked table, use the hierarchy to select the objects you wish to work with.
- Click the Load button.
- The table’s data should now be visible in the Display pane.
All of the tables in the Data Editor are context-sensitive.
Click image to expand or minimize.
Edit a Data Table
To modify the data in a table, follow these steps:
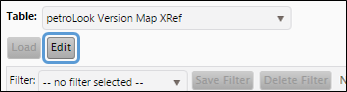
- Select and load the table you wish to modify by following the steps above.
- Click the Edit button.
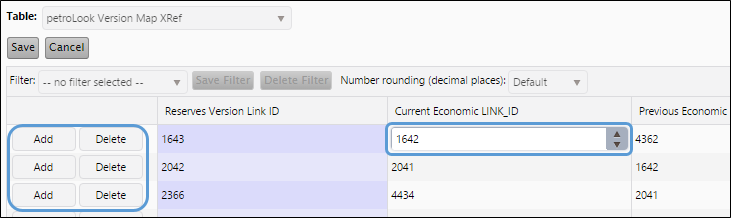
- Modify your table by:
- Modifying the data in the existing rows.
- Adding new rows of data.
- Deleting rows of data.
- Highlighted cells cannot be modified. Clicking on a gray cell will allow you to change its value.
- In addition to making changes to individual cells, you will be able to add and remove rows from the tables while in the edit mode. After clicking Edit, a column will be added to the left side of the table that includes Add and Delete buttons for each row of the table.
- Clicking a Delete button will delete the row in which the button is located.
- Clicking an Add button will add a new row to the table.
- When you click the Add button, a panel will open.
- The fields in this panel correspond to the columns of the table. Enter the necessary information into the appropriate fields.
- When you have finished setting up the new row, click the Accept button. The row will be added to your table.
- You can copy a value to other cells in its column or row using hotkeys. Select the value you wish to copy, and then use one of the hotkeys below to copy the value throughout the table:
- To copy the cell's value to all of the cells below it in the same column, press F3.
- To copy the cell's value to all of the cells above it in the same column, press SHIFT + F3.
- To copy the cell's value to all of the cells to the right of it in the same row, press F4.
- To copy the cell's value to all of the cells to the left of it in the same row, press SHIFT + F4.
- Click the Save button near the top of the Display pane to save your changes.
Click image to expand or minimize.

You will need to use extra caution when using the copy hotkeys in the Data Editor, as some tables you will use will include a variety of option types (fields, drop-down menus, dates ... etc.).
Data Loading
In some deployments of Reserves, you will be able to make small changes to the data you load into the application using the Data Editor. Changes you make using the Data Editor can be quickly reset (overwritten) by rerunning your loader using The Load Data Page.