
Install Reserves
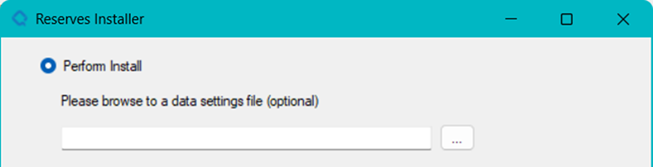
Before installing Reserves, see Run the Installer. The Perform Install choice is the main installation workflow and will install the main Reserves application, the web services application, the CCM application and, optionally for single machine deployments, the Agent Windows Service
Choosing the Perform Install option will be followed by a choice to either select a data settings file or to just click the OK button without a selection. Proceeding without a selection will make use of default setting values which are configurable. For more information on data settings files, default settings, and configuring default settings values, refer to Configure Default Settings.
The Reserves Installer window appears containing 9 different tabs. Each tab contains specific settings values and will be described in the following sub-sections.

Each tab may also contain Validation buttons. These validations are optional and meant to help check the data entry values. Regardless of being clicked or not at this point, the various settings are validated when the final Run action is taken to install the application.
Configuration
The Configuration tab selects the Web Site name to be used from the Web Server, sets the file path to locate the application files (Base Path), and specifies the Web Application name and the Windows Service Account User and Password. The Validate Account button optionally helps to ensure that the entered user credentials are correct.
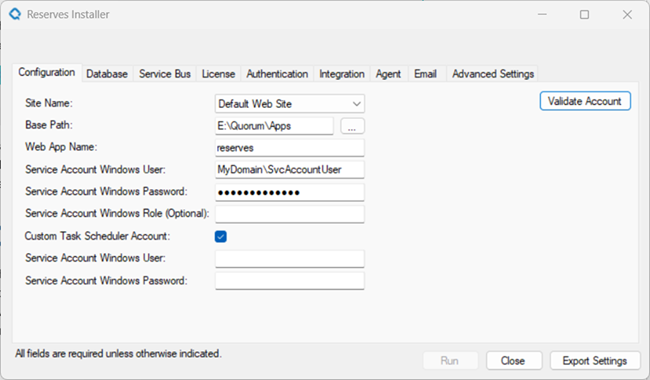
The Windows Service Account User must have Full Access permission to the Application File Path (Base Path).

Database
The Database tab sets the database connection to be used by the Reserves application. The Port setting is optional, and if left blank will use the default SQL Server port. It is recommended to leave the Port blank if the Test Connection button successfully connects.
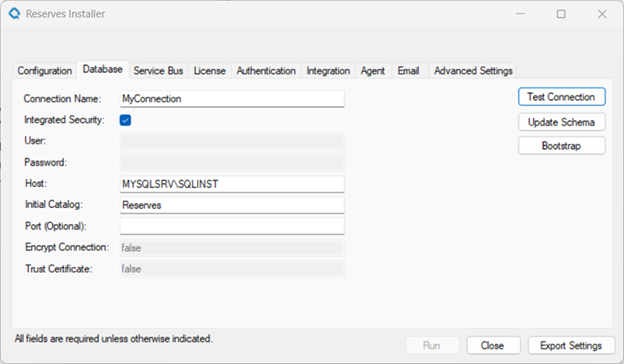
Update Schema
The Update Schema button is a replacement for the old standalone Schema Manager application. Launching the Schema Manager will show 10 migrations, including an InitialCreate for a blank schema.
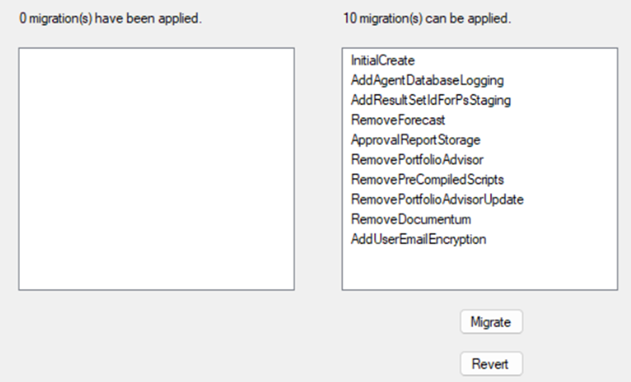
Do NOT apply the Initial Create migration to a pre-existing schema!
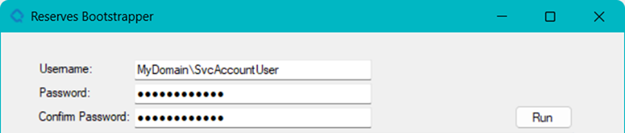
Bootstrapper
The Bootstrapper button is a replacement for the old standalone Bootstrapper application. Launching the Bootstrapper will open a window where you must supply a username and password that will be created in the database.
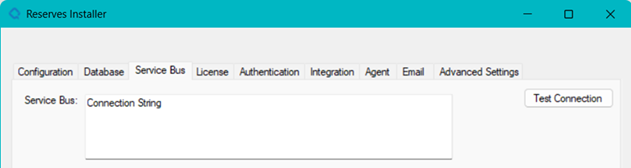
Service Bus
Copy and paste your Azure Service Bus primary connection string into the text box and optionally test the connection.
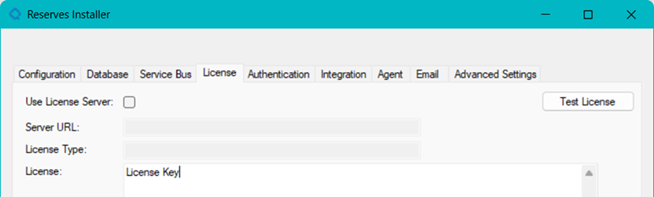
License
Copy and paste your License Key.
Authentication
The Authentication tab sets the Authentication Type: User or Role based.
It also sets the Authentication Source as either Windows or one of the OIDC sources: Azure, IPS, or Okta.
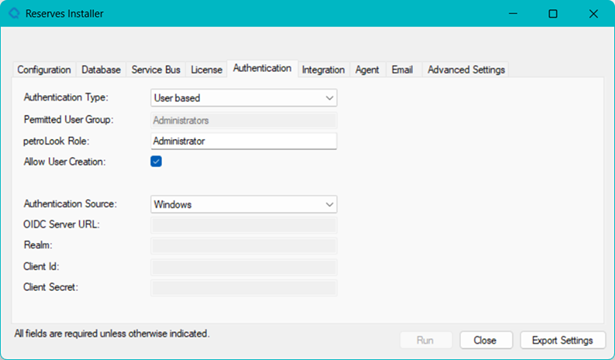
For some advanced settings for Authentication like token time-outs, it may be necessary to set through the CCM as a post-install action. Reasonable starting values are set in the CCM as an initial value.
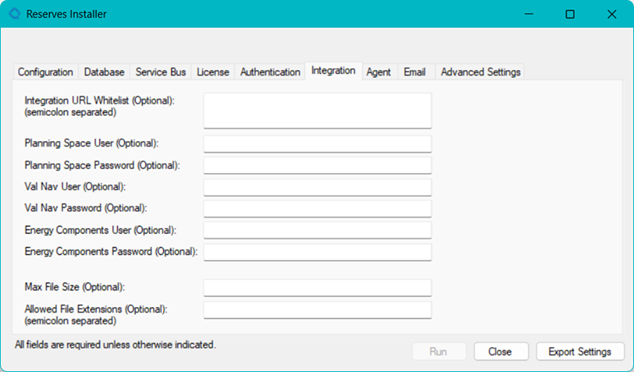
Integration
If the Reserves application is intended to make use of one or more of the core integrations to PlanningSpace, ValNav, or Energy Components, the known settings can be entered at this time on the Integration tab. This tab is optional, so no values are necessary if the integrations are not used or known. The values can be set in the CCM application as a post install step.
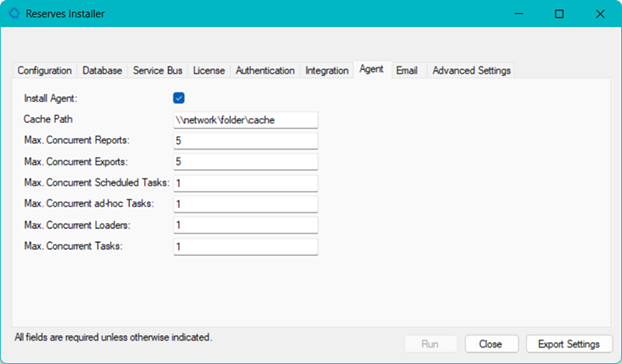
Agent
When deploying the Reserves application to a single machine, check the Install Agent and specify the network Cache path and Job Management values.
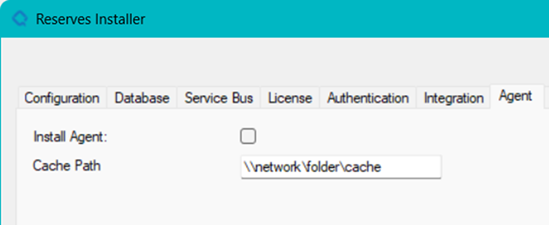
If the Agent is being deployed to a separate machine as a standalone agent, uncheck the Install Agent and specify the network Cache path.
You can enter Email setting values here. This tab is optional, so no values are necessary if they are not used or known. The values can be set in the CCM application as a post install step.

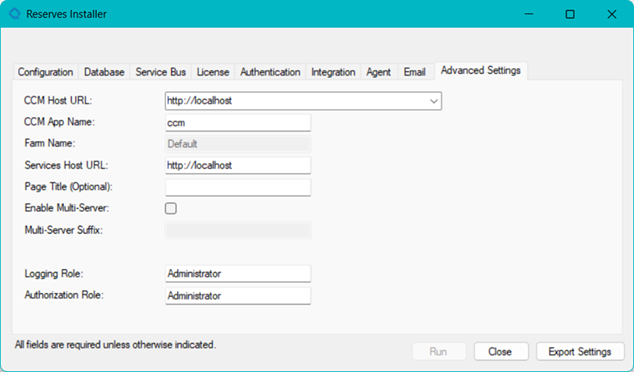
Advanced Settings
On the Advanced Settings tab many settings can be configured: The CCM App Name to be used, Page Title, Logging Role and Authorization Role.
The CCM Farm is hard set to Default currently.
The CCM Host URL drop down list is populated through bindings set in IIS.
The Services Host URL defaults to the first https listing in the CCM Host URL drop down but can be changed if necessary.
If you are using Reserves in a multi-server environment, you may check Enable Multi-Server to specify a suffix for the service names in the CCM.
Export Settings
On the bottom of the Installer window is an Export Settings button. Before clicking the Run or Close buttons, it is highly recommended to Export the Settings that have been entered and validated to this point. It provides a convenient starting point for future installations and is in a json file format which can be viewed and edited. Note that password fields are NOT exported.

Running
Clicking the Run button will open a new window describing the progress of the installation.
Please WAIT for the Install complete pop-up to appear before closing the Install app.