Add a scenario
To add a scenario to a project:
- Open a project and select its Settings tab. The Scenario Consolidation Settings panel can be found below the Project Settings panel, and this shows a list of the currently-included scenarios:
- Click the Add Scenario
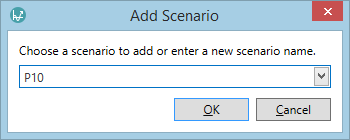
 button in the Project Home tab on the ribbon. The Add Scenario window will open.
 - Enter a name for the new scenario and click OK. Alternatively. you can use the drop-down menu to select a name (see Global Settings).
- The new scenario will now appear in the list of scenarios.


Now that you have added the scenario, it can be configured for reporting purposes; see Scenario Consolidation Settings.
