Draw a polygon
To draw a polygon in a map layer:
- Click the Polygon button
 in the Map tab on the ribbon,
or right-click in the map and select Add to Layer > Polygon.
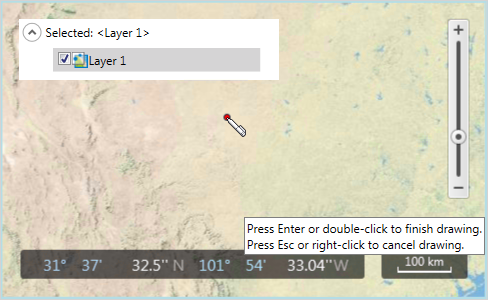
 - Place the mouse in the map: the mouse pointer will change into a pen. Click where you want to place the first vertex of the polygon, and a red dot will be placed on the map.
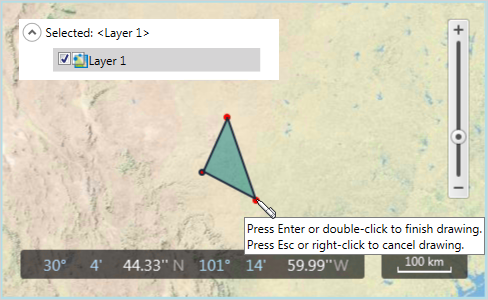
- Click where you want to place the remaining vertices of the polygon; each will be marked by a red dot. The image below shows an example of a three-cornered polygon.
- You can enter as many vertices as required. To finish drawing, press ENTER or double-click.
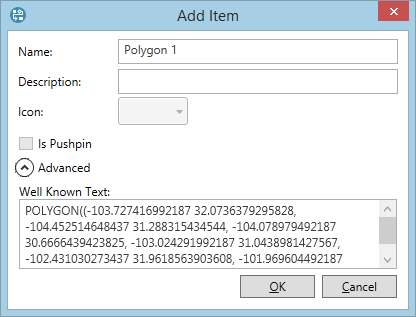
- The Add Item dialog will be displayed. Fill in the Name and Description fields as appropriate. In the example image below, the polygon is named 'Polygon 1'. The Advanced section shows the Well Known Text value for the new polygon. You can edit the polygon's coordinates directly by editing the WKT value.
- Click OK to save the polygon; or click Cancel to cancel it.


Note: The appearance of polygons (fill color, texture, transparency, border color) is determined by the layer settings (see Add and remove layers).
