Add dates
Dates are added to templates with the help of date ranges. Date ranges automatically expand to cover the whole period included into the report. You can add as many date ranges as necessary. To add a date range:
- Click on
on the Palantir tab on the ribbon. The Link report template variables window will be displayed.
- In the Settings section, expand Others and select the Date Ranges option.
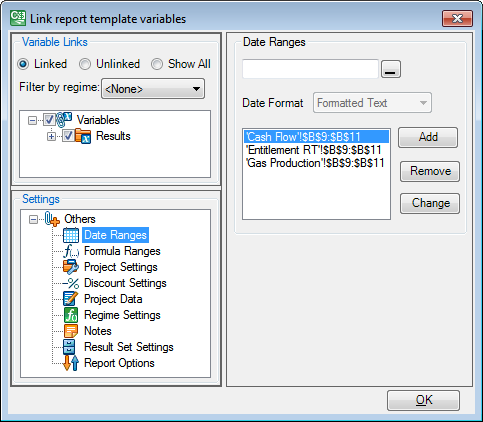
- The Date Ranges section contains the list of existing date ranges, buttons to manage ranges, and the field used to add new ranges. The image below shows date ranges created in a template on several worksheets.

- Click on
in the Date Ranges section. The Link report template variables window will be collapsed and the template will be displayed.
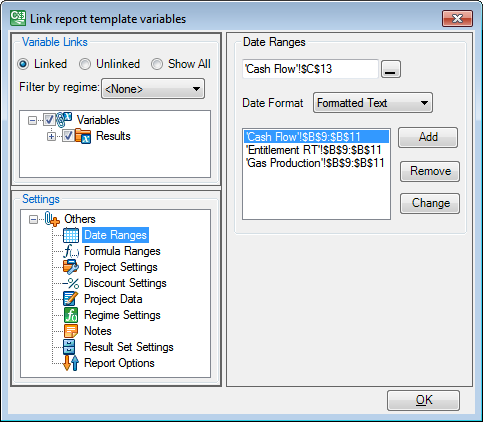
- In Excel, select the cell where you want the date range to start. The cell name will appear in the collapsed window as shown below.

- Click on
in the collapsed window. The window will be expanded and the selected cell's name will appear in the Date Ranges section.

- Now you need to select the way this date range will be treated in formulas. In the Date Format field, select the Short Date option if you want to use this date range in a formula; otherwise select the Formatted Text option. Note that you can still use dates in formulas even if they are formatted as formatted text but then you will need to convert them manually within the formula.
- Click on the Add button. The cell range will appear on the list of ranges.
- Click OK to save the link and close the Link report template variables window.
- The linked range will appear in the report template. It consists of two placeholders: <START DATE> and <END DATE>. When the report is run, placeholders will be replaced with the actual dates taken from report settings.
- We recommend typing test values in the <START DATE> and <END DATE> cells to make sure they are formatted correctly. Test values do not appear in reports and do not affect them in any way.
To delete a linked range, select it in the text box and click on the Remove button.
To link an existing range to different cells:
- Select the range in the text box.
- Click on
in the Date Ranges section.
- The Link report template variables window will be collapsed and the report template will be displayed.
- In Excel, select a new starting cell for the range. The cell name will appear in the collapsed window.
- Click on
in the collapsed window. The window will be expanded and the new cell name will appear in the Data Ranges section.
- Click on the Change button. The existing range will be replaced with the new one.