Create a special named range in a Data Document
- Go to Tools > Options and select the Project Datalink Options section in User Settings. In this section, choose the saving options (for more information, see Project Datalink Options).
- Open the document into which you want to insert a special range.
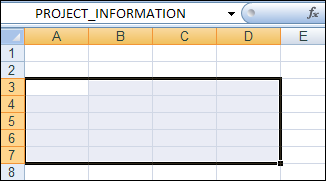
- To enter a range, select the area where it will be and type the range name in the Name Box as shown below. Names of the ranges should be entered in capital letters and with underscores between words.
Note: The range must include only user-entered and automatically updated cells.
Note: The PROJECT_INFORMATION range must contain all four columns: Project Name, Included, Consolidation Name and Parent Consolidation Name; otherwise it will not be populated. Other ranges must contain at least one automatically updated column.
- Format the cells, enter column headers and specify user-entered data. The default colors are orange, red and yellow, but you can use any other colors.

- Make sure that the document is linked to at least one of the projects listed in the Project Name column.
- Save the document.
- Calculate a Result Set with projects listed in the Project Name column. You must include projects linked to the document; other projects are optional.
- If you selected the Create workbook files for calculated GDD/HDD documents option, open Windows Explorer and go to the directory which you specified for file storage. The newly calculated document will appear in that directory with the word Calculated added to its name.
- Open the file and you will see the populated cells as shown below.
