Launch PlanningSpace
Follow these instructions if you are connecting to a PlanningSpace server for the first time.
Important: If you are using an application provisioning service (such as Citrix) to access PlanningSpace then you will connect immediately, via a provisioning server, to the PlanningSpace client (see below), and you do not login via the IPS Server.
Prerequisites
To connect to PlanningSpace you need to know the URL of the IPS Server, the name of the PlanningSpace tenant that you will use, and you need to have a user account for that tenant.
Depending on the configuration of the PlanningSpace deployment, you may have been given a username and password for a user account that is specific to PlanningSpace, or you may have been told to use a Windows UPN identifier (something like 'first.lastname@domain.mycompany.com'), such as you use to access other services in your company's IT environment. In that case you will use the same password for that UPN as you use for other services.
If you are unsure of any of these details you should contact your local PlanningSpace administrator.
Login to the tenant website at the IPS Server
Using the URL for the IPS Server and tenant, for example 'https://ips.mycompany.com/tenant1', you will see a login page in your browser like the following image:
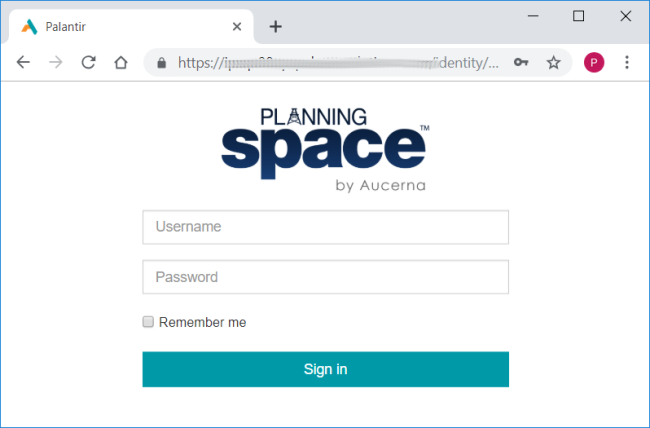
If you have 'Local' PlanningSpace login credentials, type these in to the Username and Password fields, and click Sign in. Also do this if you have a 'Windows Active Directory' login: in the Username field type in your 'DOMAIN\username'.
If you are using a Windows UPN identifier, put this into the Username field, and leave the Password blank. After you click Sign in, the browser will be directed to an Identity Provider server, in which you may be required to select one of several federated accounts, and you may be requested to enter your federated password. (The details depend on how your PlanningSpace deployment has been configured.)
For version 16.4 Update 1 and later: The Remember me option checkbox can be used to store the last-used Username for the next login.
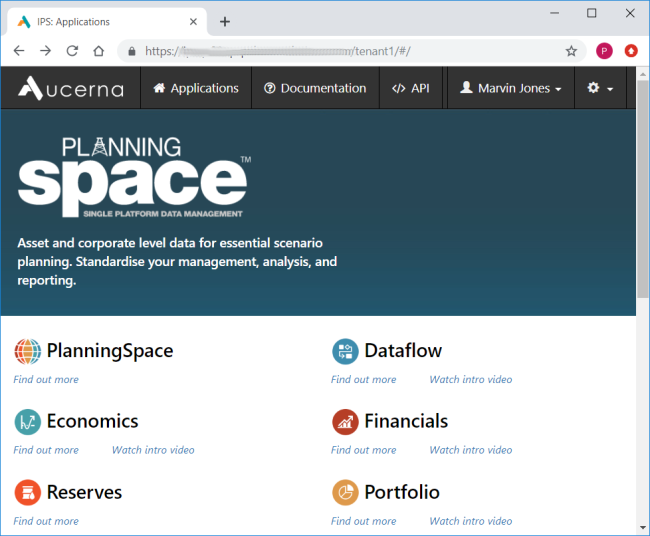
If login is successful you will see the PlanningSpace tenant website in the browser:
Download (or Update) the PlanningSpace client application
Click the PlanningSpace icon, which will open a dialog box as follows:
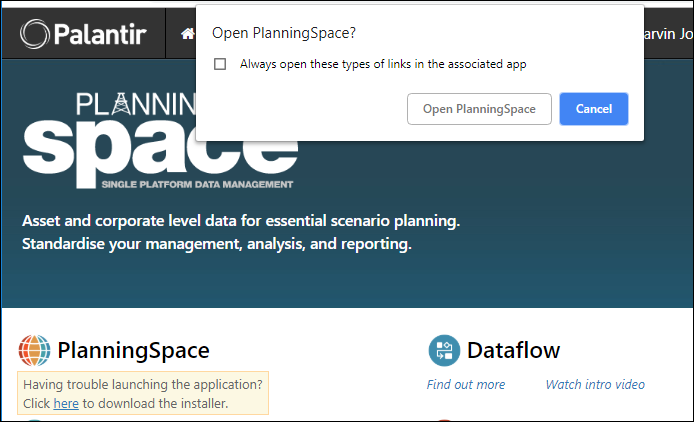
If you have downloaded the PlanningSpace client before, you can click the Open PlannningSpace button, which will initially check if your client software needs an update, and fetch the update if necessary, and then launch the PlanningSpace client application.
If you have not downloaded the client before, for this IPS Server on your current local computer, click Cancel in the dialog and then click the text Click here to download the installer. A small executable file will be downloaded.
On the downloaded file link at the bottom of the browser window, click to open the action menu, and click Open to run the installer program.
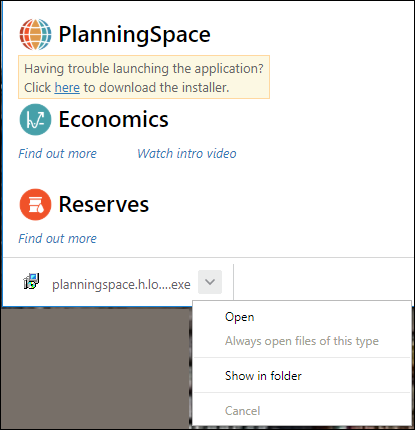
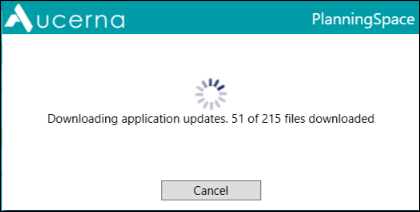
Wait for all of the files to download:
When the download is complete, the PlanningSpace client application program will launch:
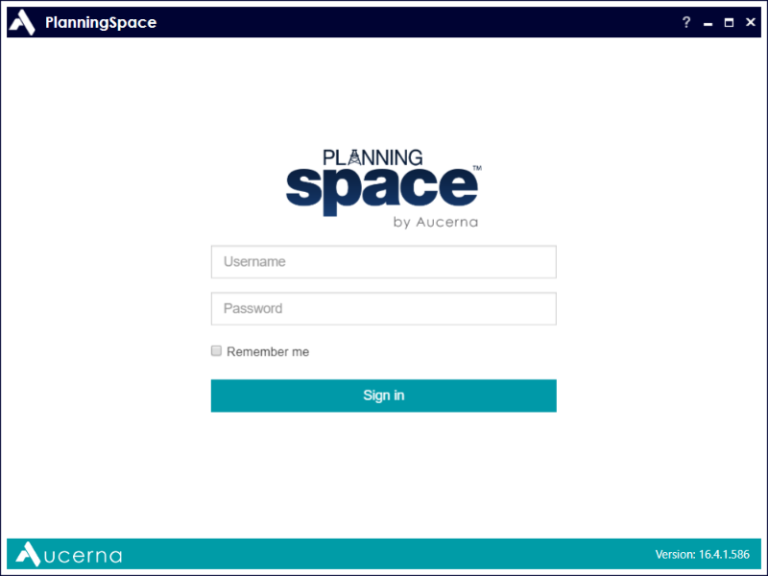
For version 16.4 Update 1 and later: The Remember me option checkbox can be used to store the last-used Username for the next login using this client app.
Note: You will have a locally-installed client in your Windows account for each IPS Server that you connect to.
PlanningSpace client login
In the client login screen (see above), you need (again) to type in your Username, and Password if needed. Click Sign in to perform authentication and login.
If login is successful, the client application selection screen will appear as shown below. Some of the applications may take a short time to initialize.
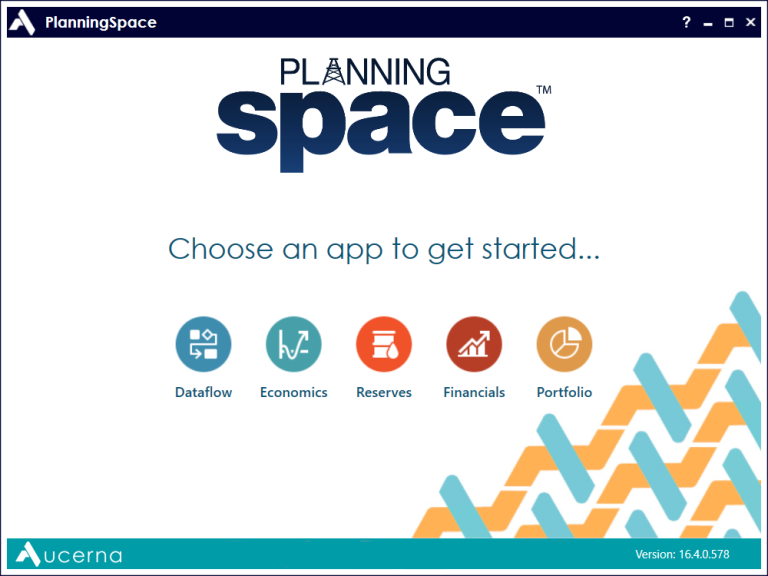
Once an application has initialized, it can be opened by clicking the application icon.
You are now ready to use the PlanningSpace applications. For instructions on how to navigate between the applications and workspaces in PlanningSpace, see Navigation.
