Create a new price deck
To create a new price deck for a hierarchy:
- In the Price Management tab on the ribbon, click the Add
 button.
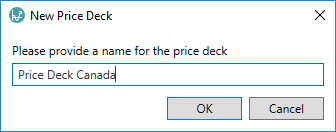
 - The New Price Deck window will open. Specify a name for the new deck and click OK.
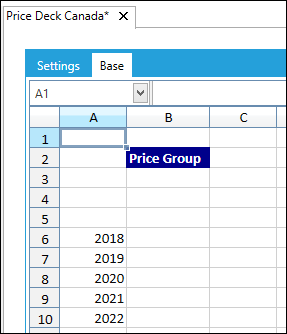
- The new deck will appear in Price Management and open automatically with its Base tab selected.
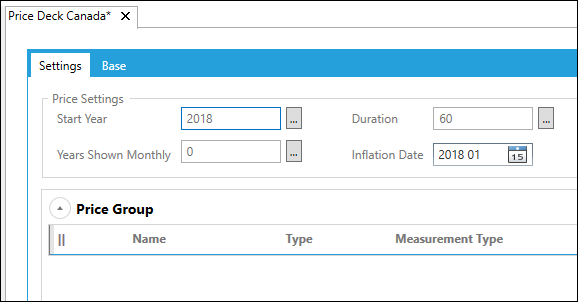
- To configure the price deck's start year, duration or the number of years to
display in months, click on the appropriate ellipsis button
 .
To set the inflation date, either manually change
the field or click the calendar button
  to select a date.
 - By default a new price deck will have a single Price Group. Use the
Add Group
 and Rename Group
 buttons to structure your price deck appropriately, for example by product types and/or by geographical regions.
 - Add new prices to your groups as required by using the Add Price
 button on the ribbon.
 - For Liquid prices – Volumetric or Mass
- For Gas prices – Thermal or Volumetric
- For Generic prices this setting is not required.
-
Add intermediate columns to groups by using the Add Columns
 button on the ribbon. This will insert a row beneath the price that is currently selected.
By default, one column will be added. The number of intermediate columns can be adjusted between 1 and 20, by clicking the ellipsis button
 .
The intermediate columns will be added to all the scenarios that exist in the price deck.
The columns can be used to store non-price data or intermediate formulas used to calculate prices.
 - Save the new price deck. To begin using it, it must be set as the active price deck in the hierarchy. For instructions on how to do this, see Replace a price deck.


Click the Settings tab:

The following table describes the settings that need to be configured when adding a new price.
| Setting | Description |
|---|---|
| Name | Sets the name of the price. |
| Type | Specifies whether the price is a Liquid, Gas, or Generic price. |
| Measurement Type | The options depend on the Type that has been specified for the price:
|
| Currency | Sets the currency for the prices that are entered into the price deck. |
| Real/Nominal | Specifies whether the price is entered in real or nominal terms in the price deck. |
| Unit Type | Can be set to Imperial or Metric, determining the units available in the Unit field. |
| Units | Only required for Generic prices: Choose from the list of pre-defined price units,
or specify a custom unit definition, by choosing Custom and clicking the ellipsis button
 . . |
| Label | Displays the units by which the price is measured. Determined by the Measurement Type and Imperial/Metric fields if the Type is set to Liquid or Gas. For Generic prices the label is determined by the Units field. |
As new prices are added to price decks, columns will automatically be added to all the scenarios that exist in the price deck (see Create a new price scenario).
Note: You can also add scenarios to price decks to apply multiple calculation values to the same price. For more information, see Create a new price scenario.
Once you have created your price deck and made it active within the hierarchy, you can start linking prices to projects in the Manage Inputs workspace. See Apply prices to a project.
