Draw a line
Note: If you need to include LINESTRING objects in the Dashboard Map, the object display limit (500 objects) may be an issue because LINESTRING objects are counted by the number of line pairs that are contained (e.g., a linestring containing 4 points will be counted as 3 map objects). For closed LINESTRING objects (i.e., starting and ending at the same point) it is possible to substitute POLYGON objects which only count as one object with respect to the object display limit. It is not currently possible to modify the object display limit, but this will be added as a new setting in PlanningSpace version 16.5.
To draw a line (LINESTRING object) in a map layer:
- Click the Line button
 in the Map tab on the ribbon, or right-click in the map and select
Add to Layer > Line.
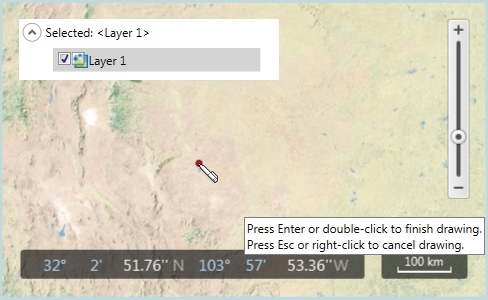
 - Place the mouse in the map: the mouse pointer will change into a pen. Move the pen cursor to the desired start point of the line, click the map and a red dot will be placed on the map.
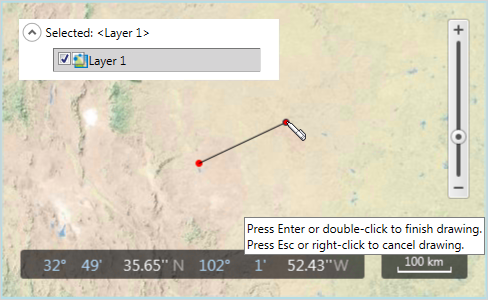
- Move the pen cursor to the desired end of the line and click the map. Another red dot will be placed on the map, connected to the first dot by a line.
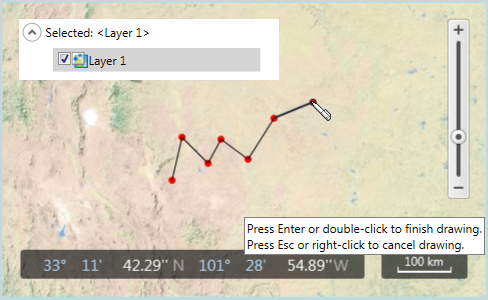
- To finish drawing, press ENTER or double-click. Or click further points to make a connected line object:
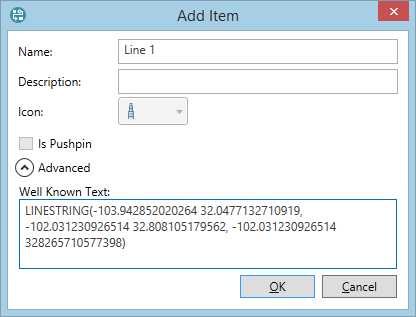
- The Add Item dialog will be displayed. Fill in the Name and Description fields as appropriate. The Advanced section shows the Well Known Text value for the new line. You can edit the line's coordinates directly by editing the WKT value.
- Click OK to save the line; or click Cancel to cancel it.


Note: The line color will be determined by the layer settings (see Add and remove layers).
