Change background and watermark settings
Add a background color to a document
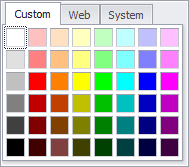
To add a background color to a document, click  on the toolbar. The Background Color dialog will be opened. Then choose a color from the Custom, Web or System palettes.
Adding a watermark
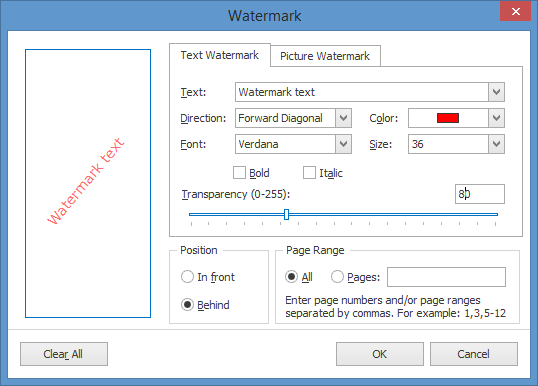
To add a watermark to a template, click the ellipsis button for the Watermark option on the Property Grid. The Watermark dialog will be opened.
To add a text watermark, click on the Text Watermark tab. Enter the required text or choose one from the provided options. If required, define other text properties, such as direction, color, font, size, transparency, etc.
To add a picture watermark, open the Picture Watermark tab. Load the image and customize its properties, such as size mode, horizontal and vertical alignment, tiling, transparency, etc.
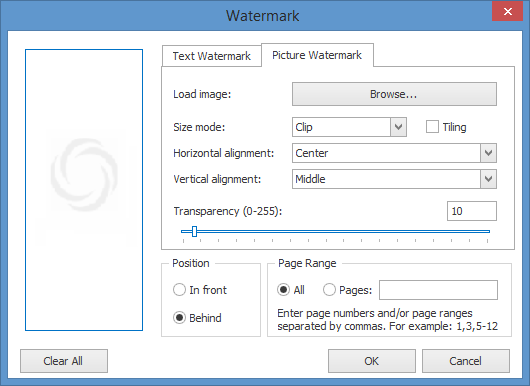
Specify the required pages to apply a watermark in the Page Range section of the dialog. Separate page numbers with commas or specify page ranges using a dash.
Adding a watermark using the Property Grid
You can also add a watermark using the Property Grid. Expand the Watermark option on the Property Grid.
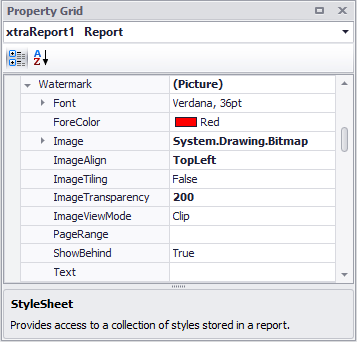
To add a text watermark, on the Text field, enter the required text or choose one from the provided options. If required, define other text properties, such as direction, color, font, size, transparency, etc.
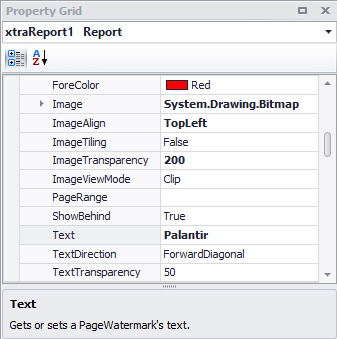
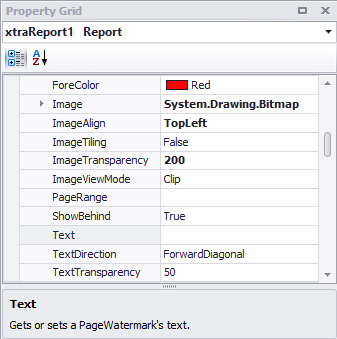
To add a picture watermark, first make sure that the Text field is empty. Click on the ellipsis button in the Image field. Select an image and customize its properties, such as size mode, alignment, tiling, transparency, etc.
Specify the required pages to apply a watermark in the Page Range field. Separate page numbers with commas or specify page ranges using a dash.

Note: You can also change watermark settings once you have run your report. To do so, click the Watermark button  on the toolbar.
